How I deploy the Plant-Waterify API
Here is how I deploy the Plant-Waterify API to my VPS
This is a very basic deployment process I use to automatically push updates made to master to production for the API for my Plant Waterify project.
NOTE: You will need to have a Gitlab runner already set up for deployments to actually run on. I may do an article on Gitlab Runners in the future.
What are we deploying
Here is the repo for the API:
https://gitlab.jasondale.me/jdale/plant-waterify-api
More details can be found in my other post linked above, but this is an API built in Go running on a VPS (that also hosts the site you’re reading this on, as well as all my other projects).
Docker
I have a Docker image I created that I use for Hugo deployments. Here is the DockerHub link:
https://hub.docker.com/repository/docker/jasonsdocker2018/hugoserver
If you want to create your own version, you can find a starter Dockerfile here.
Gitlab CI/CD
The gitlab-ci.yml does the following steps:
- Specify the Docker image
- Configure the stages (just one in this case)
- Specify what branches this deployment runs for (master only)
- Set up SSH keys and known_hosts to authenticate and deploy to the VPS
- Run a
makecommand to do the build and actual deployment
Gitlab Setup
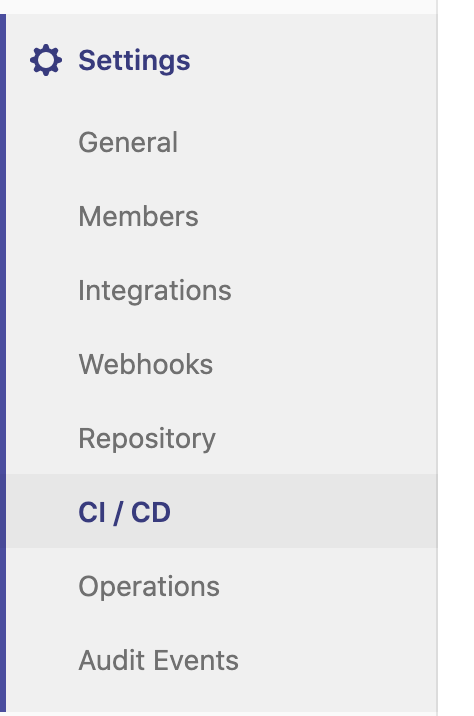
First, you will need to create the variables in the project settings in Gitlab. Navigate to the project, Settings -> CI/CD
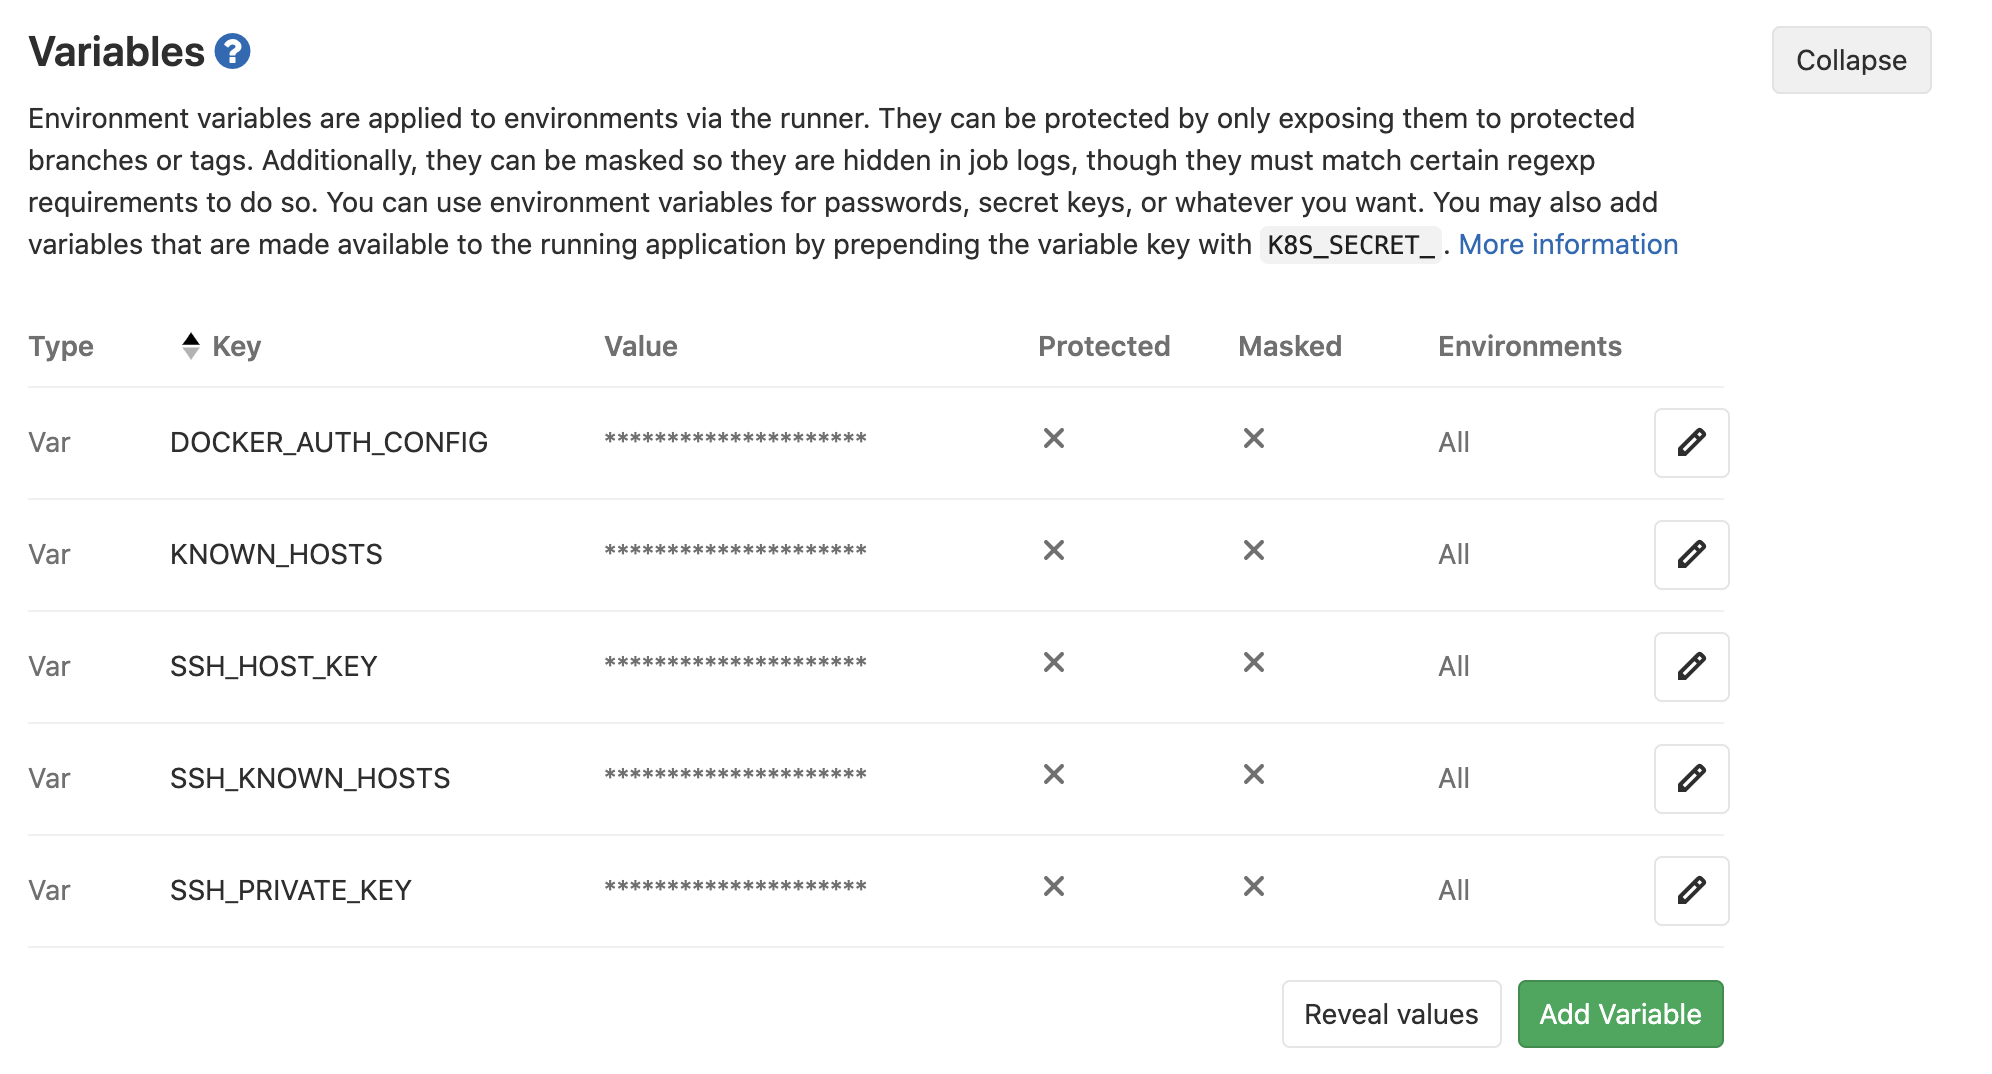
Then you will need to add a Gitlab variable for each of the following items we will use later (I have additional for other projects):
- SSH private key (SSH key authentication to your server - likely the contents of your
~/.ssh/id_rsafile) - SSH known hosts (to prevent the SSH connection from asking if you want to accept the connection during the script)
I was able to get the proper known_hosts file contents using this command:ssh-keyscan jasondale.me
These variables can be called in the gitlab-ci.yml file.
Gitlab CI YAML
Here is the actual .gitlab-ci.yml file:
image: jasonsdocker2018/hugoserver:latest

stages:
  - deploy

deploy:
  stage: deploy
  image: jasonsdocker2018/hugoserver:latest
  only:
    - master
  before_script:
    ##
    ## Install ssh-agent if not already installed, it is required by Docker.
    ## (change apt-get to yum if you use an RPM-based image)
    ##
    - 'command -v ssh-agent >/dev/null || ( apt-get update -y && apt-get install openssh-client -y )'

    ##
    ## Run ssh-agent (inside the build environment)
    ##
    - eval $(ssh-agent -s)

    ##
    ## Create the SSH directory and give it the right permissions
    ##
    - mkdir -p ~/.ssh
    - chmod 700 ~/.ssh

    ##
    ## Add the SSH key stored in SSH_PRIVATE_KEY variable to the agent store
    ## We're using tr to fix line endings which makes ed25519 keys work
    ## without extra base64 encoding.
    ## https://gitlab.com/gitlab-examples/ssh-private-key/issues/1#note_48526556
    ##
    - echo "$SSH_PRIVATE_KEY" | tr -d '\r' | ssh-add -
    - echo "$SSH_PRIVATE_KEY"
    - echo "$SSH_KNOWN_HOSTS" >> ~/.ssh/known_hosts
    - chmod 644 ~/.ssh/known_hosts

    ##
    ## Optionally, if you will be using any Git commands, set the user name and
    ## and email.
    ##
    # - git config --global user.email "user@example.com"
    # - git config --global user.name "User name"

  script:
    - make deploy
Makefile
The last step is the make deploy. I use a makefile to build and deploy - this can be used on a dev machine or, with the above process, via Gitlab.
Here is the makefile:
PROJECT_NAME := "plant-waterify-api"
PKG := "gitlab.jasondale.me/jdale/$(PROJECT_NAME)"
PKG_LIST := $(shell go list ${PKG}/... | grep -v /vendor/)
GO_FILES := $(shell find . -name '*.go' | grep -v /vendor/ | grep -v _test.go)
REV := $(shell git rev-parse HEAD)
TOKEN := $(shell cat config.yaml | grep RollbarToken | awk '{ print $$2 }')
USER := $(shell whoami)
BRANCH := $(shell git branch | awk '{print $$2}')
SERVER := "jason@jasondale.me"

dep: ## Get the dependencies
	@go get -v -d ./...

build: dep ## Build the binary file
	@go build -v $(PKG)

build-mac: dep ## Build the binary file for MacOS
	@env GOOS=darwin go build -v $(PKG)

deploy: build
	ssh $(SERVER) "sudo service plant-waterify-api stop"
	rsync plant-waterify-api $(SERVER):/home/jason/www-data/plant-waterify-api/
	rsync plant-waterify-api.sh $(SERVER):/home/jason/www-data/plant-waterify-api/
	ssh $(SERVER) "sudo service plant-waterify-api start"
	curl -H "Content-Type: application/json" -H "X-Rollbar-Access-Token: $(TOKEN)" -X POST -d '{"environment":"production","revision":"$(REV)", "local_username":"$(USER)","comment":"Branch: $(BRANCH)"}' https://api.rollbar.com/api/1/deploy
What this does:
- ssh to the VPS and stop the current running service
- rsync the built file
- rsync the script used to actually start the go app (this is what the
.servicefile actually calls) - start the service again
- if we get here, deployment was successful, let Rollbar know via a curl command
The service can be set up using this.
That’s it! Deployment successful!